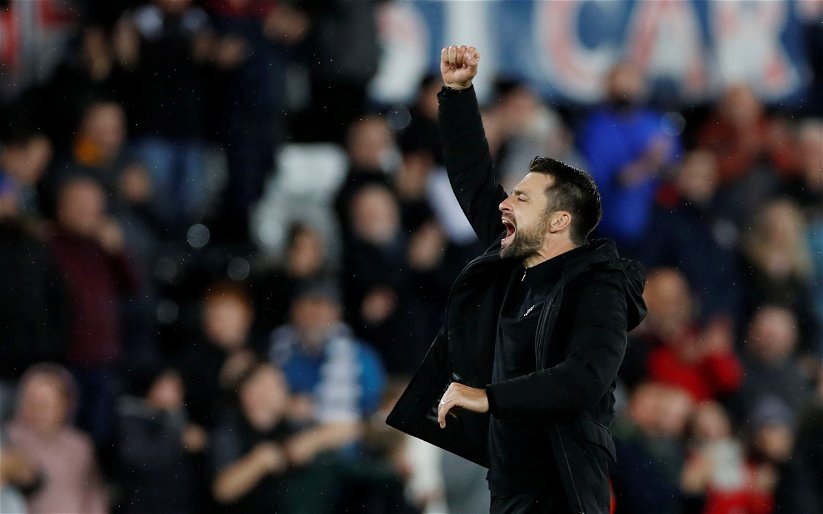
Part 1 of our detailed tactical analysis as Swansea City recorded their first Premier League win of the season as Tammy Abraham and Jordan Ayew scored either side of the break at Crystal Palace.
New Palace boss Frank de Boer brought pressure on himself by declaring their third League game as a ‘must win`, but his side didn`t appear to treat it like one in any sort of fashion. The Swans dominated large spells of possession in the first half, and after difficulty in breaking down the home side – who adopted the same system as Paul Clement, they found the breakthrough just before half time as Leroy Fer picked out Abraham in the box.
Kyle Naughton was then able to feed Ayew after a Palace mistake on half-way, doubling our lead – giving us some breathing space as the momentum shifted to the home side as they looked for a way back into the match in the second half.
Swansea`s difficulties in possession and being forced down the sides
The Swans dominated possession in the first half but they had difficulty in penetrating through Crystal Palace`s 3-5-2 defensive shape, as they experienced the same problems that Manchester United faced the week before up against our own 3-5-2 system.
Palace were able to outnumber us through the middle, meaning that new signing and debutant Sam Clucas saw little of the ball when it was brought out from the back, as Alfie Mawson (the main defender to bring the ball out) – had no other option early on but to pass out wide to Tom Carroll, or switch the ball over to the opposite side.
Alfie Mawson`s passmap is shown below and you can see the red forward arrows as his long, direct balls were almost always overhit.
Below, Alfie Mawson bring the ball forward – but with two midfielders in wide positions and Fer further forward, he was stuck for options, and as the game went on, the Swans began to go long and more direct.
Below is another example a few minutes later in the game, as Palace`s front two push slightly further forward, Carroll – occupying a very wide position (Fer also) is marked out, as Mawson has to shift the ball across to the opposite side.
Like the Swans did to great effect against United last week, Palace defended in a 6-man central block to thwart and limit the attacking threat in this area – hence how the Swans had to keep moving the ball forward via the flanks.
Not only that, but Palace were able to deny the chance for the central midfielders to pick the ball up from their defenders in the centre of the pitch – due to a combination and a balance between pressure and good positioning to man mark and block passing routes.

When we did commit players forward ahead of the wing backs, Palace were able to block the passing route, meaning the ball had to yet again go back into our own half.
At other times, when Carroll and Olsson did get near the edge of the final third, they were both man-marked, and without a midfielder runner through the channel and into space, they had no other option again but to attempt long, ambitious crosses from wide areas.


Olsson`s pass map is shown below, and you can see how few of his forward passes were unsuccessful and how he was starting to play more long and direct balls forward – rather than having to continuously pass back into his own half. The majority of his passes however are backwards and into his own half of the pitch.
Kyle Naughton had more success down his right side, with more forward passes, fewer longer passes and more passes in the final third. This was mainly because the forwards – particularly Tammy Abraham was moving out to the right flank in support.
With Naughton lacking an overlap, he had the benefit at times of having Abraham moving across to help the ball moving forward (below).

Swans start to go long & direct
As our frustrations of not being able to get the ball forward using a patient passing style grew as the half went on, we had to find other ways to get the ball into the final third – and that was simply to hit longer and more direct balls up to the forwards.
You can see below and in previous screenshots just how difficult it was to do this by passing along the floor, so the likes of Olsson, Mawson and Fernandez began to go direct.
Below, as Carroll`s forward run down the wide left channel is tracked by two Palace players, and Olsson himself is closed down quickly, he has no option but to attempt a long, direct ball aimed for Tammy Abraham.
Below, Fernandez tries to bypass Palace`s three central midfielders by chipping a pass over them and into Abraham.


Same problems again with a lack of support up top
But while the Swans tried to go more direct in a bid to get the ball into the attacking third, like against Manchester United the weekend before, the front 2 – Tammy Abraham and Jordan Ayew still had the difficult task of competing with 4, 5 or even 6 Palace players all on their own – as we still lacked an attacking midfielder behind them in support.
As the Swans continued with their patient, passing build-up play, prior to going more direct later in the half, you can see below the large gap between the front two and the midfield.

Here too, the ball is played long to Ayew (below) who lacks any support around him. Abraham is in a wide position and the nearest midfielder is probably 25-30 yards away.
The difficulty for our two strikers in the final third can be summed up using the pass map below, which shows all of our attempted passes in the entire 90 minutes.
Other than the opening goal and excluding crosses, we managed just a single successful pass into Palace`s penalty area in the entire game.
The pass map below, which only shows successful passes, also demonstrates how very few successful passes we managed in the attacking third – which proves the defensive qualities of the 3-5-2 system.
Looking at the touch map of our two strikers also tells an interesting story – Abraham`s in particular. His (below) shows just how crucial his opening goal was and how clinical he had to be to get us in front.
Despite creating few chances – most of which we from close range – which suits Tammy Abraham, we were clinical with the first and helped for the second, which proved to be enough to win the game quite comfortably, while Palace didn`t do enough with some of the clear chances they started creating in the second half.
Apart from the goal, Abraham had one other touch of the ball in the penalty box,with most of his touches in deeper midfield positions or out wide.
Compare that with the below touch map, which compares Abraham`s – in blue – and Benteke`s in red. The Palace striker had 5 touches in the box, and more touches centrally and just outside the penalty area.
Jordan Ayew`s touch map also deserves to be included, because it shows just how much grass he covered during the game. His two touches in the box were both efforts on goal, but his other touches are widely dispersed – centrally and on both flanks.

The shot map above (all shots) shows Swansea`s on the left, and Palace`s on the right.
Palace had similar problems
With Palace adopting the exact same formation, they too had similar problems to us up top, with Benteke lacking support as the Swans were always able to crowd him out.

There was one moment when Swansea`s defensive shape broke down, as they allowed Palace to get wing-back van Aanholt in-behind down the left. Naughton had pushed inside, giving van Aanholt the space as the screenshot below shows:
Swansea open the scoring
So, if we found it so hard to penetrate through Palace and cope with the lack of support up top, then how did we create a chance and score the opening goal?
Well, it was mainly down to committing more players forward. Rather than staying deep, both Leroy Fer and Sam Clucas move into the final third, and they linked up on the right side of the pitch before Fer picked out Abraham with a superb cross.
The move starts off with Clucas in possession (below) and Fer making a run in behind. 
Clucas makes his way down the right, while Fer pulls back – occupying the space Clucas had just left behind.
With nowhere else to go, Clucas passes back to Fer (below), who sends in the cross for Abraham to finish.

It really was a superb finish from Abraham, who had to be clinical in that situation considering how touches in the final third were few and far between for the Chelsea teenager.
And also, a mention for the new signing Sam Clucas – who helped set up our opening goal. The former Hull midfielder was excellent in the middle, he didn`t see a great deal of the ball for the reasons we pointed out earlier, but he got more involved as the game went on, and rarely played a misplaced pass as his pass map below shows:
Part 2 of the analysis will be online on Friday evening as we look at the second half of the match – how Palace had to change their attacking approach, Townsend`s creative threat and how Paul Clement changed his system to match de Boer`s 4-man defensive system from the restart.
Share this article
Related Articles