Match Analysis from Come On You Swans.com as Swansea City lose 3-1 at home against Spurs.
Swansea’s defeat – yet another at home puts even more pressure on themselves ahead of what is now, for certain, a must win game next Tuesday when Fulham visit the Liberty Stadium – as they also desperately need to kick start their campaign and move away from what is one of the tightest Premier League seasons we’ve seen in years.
There were clear signs on show in the game of a team of players lacking confidence and morale – one obviously struggling near the foot of the table as they showed characteristics that we rarely see in a side that usually plays such accurate and crisp passing.
As many as eleven clubs could be involved in a relegation battle, as Aston Villa in tenth are only 6 points ahead of the drop zone – where all three sides sit on 18 points, 3 less than the Swans.
Unfortunately, this is likely to be the longest Match Analysis of them all so far, and I’m dreading doing it. Not because it’ll take even longer, but because of the number of worrying factors that began to creep into Swansea’s play as the game went on. There were clear signs on show in the game of a team of players lacking confidence and morale – one obviously struggling near the foot of the table as they showed characteristics that we rarely see in a side that usually plays such accurate and crisp passing. After all, they’re one of the most accurate passers of the ball in European football, but it means nothing when such errors are being made. Soft goals conceded, own goals too and basic passes going astray as the Swans continue to gift opposition teams goals.
A shift of momentum after opening goal
Michael Laudrup’s side started brightly. They dominated the opening 35 minutes as Spurs failed to manage a single shot on goal before they opened the scoring. But that opening goal proved to be absolutely crucial, as we saw a huge shift in momentum towards the visitors after Adebayor headed home Eriken’s perfect delivery. Swansea’s heads dropped, and they never recovered.
The screenshot above shows a comparison of shots on goal from both sides. The top diagram shows the opening 30 minutes, and the bottom showing the final 15 minutes of the opening half.
Although all but one shot from the hosts are from outside the box, Swansea created 7 chances as they had good attacking momentum in the early stages, while Spurs couldn’t create a single opening. Bony saw a powerful 25-yard effort strike the crossbar, while Shelvey forced a good acrobatic save from Lloris.
Alan Hansen claimed on Match of the Day2 after the game that Swansea City needed to change their philosophy, and passing amongst the defence is inviting pressure and allowing opposition to take advantage of inaccurate passes and mistakes. Possession was conceded in our own half, as Shelvey and Rangel allowed Spurs to create chances as shown in more detail below, but the Swans simply need to improve the quality of their passes, and cut out the basic errors that is so unlike them.
Early on, they showed glimpses of what they were capable of, quick, one touch, direct forward passes to create an attack. Shelvey, Routledge and Pozuelo all combined (below) but the latter’s through ball to Bony was just too heavy.
However, as soon as the goal went in, Spurs were able to look dangerous on every attack, and could, and should have doubled their lead before half time, forcing two saves from Tremmel with another 2 shots going off target.
Carbon Copy moves of goals
Swansea City shot themselves in the foot, allowing Spurs to easily increase their lead and giving themselves no chance of getting back into the game. Coincidentally, Spurs created carbon-copy moves of 2 of their 3 goals just moments before them.
As poor passes begin to creep slowly into Swansea’s play from around 8 or 9 minutes in, Spurs begin to create half chances, although they never ended with shots on Tremmel’s goal.
The screenshot above shows a very similar move to Spurs’ opening goal. Eriksen breaks down the right but the cross just isn’t good enough for Adebayor, who gets himself in a good position in between the two centre backs. Tremmel is able to catch this ball quite easily.
This early half-chance for Spurs came from a poor pass from Shelvey, as shown below. He tries a pass back to Ben Davies, but this is easily picked up and Spurs can break.
Spurs may not have troubled Swansea with that attempt, but they did 20 minutes later, courtesy of a similar move to the first. Lennon makes a run forward which isn’t picked up by Ben Davies, he then lays the ball back to Eriken, who has plenty of space and time to deliver the perfect cross for Adebayor to head home at the far post. Neither of the two centre backs get close enough to Adebayor, the cross isn’t dealt with and suddenly the game switches – as the visitors now take control for the remainder of the half.
Spurs instantly create a chance to double their lead, as Swansea suddenly look very vulnerable at the back. Below, it looks like there’s no danger with nobody forward, but they soon add numbers into the box.
Adebayor picks the ball up (below) just inside the box following a poor pass from Rangel. Ben Davies is attracted to close him down, but this is Williams’ job. Davies rushing on allows Chadli space to receive the ball and fire at goal, fortunately the shot blazes over the bar.
Tremmel had to make a couple of saves to keep the score at 1-0, which the Swans would have settled for in the end, despite their bright start.
The Swans needed to re-group at the break and come out looking as bright and on the front foot as they did early in the first half, but if anything they got worse as the game went on.
Tracking the runners was a real problem for the Swans, they failed to do it throughout the game and this allowed Spurs to counter attack, and add to their goals tally relatively easily.
Before the first goal, Spurs gave Swansea a warning of what was to come, and it was no different for goals number 2 or 3 either.
6 or 7 minutes before the second goal, again, Spurs give a warning of what’s to come. Below, Amat initially puts pressure on Adebayor, but he soon forgets about him, and focuses on the Spurs player nearest the touchline.
Adebayor makes a clever run down the flank and he is played in, but in this instance a cross is blocked out for a corner.
Not long later, a similar opening occurs for Spurs, down the same right flank. This time it’s Lamah (below) who fails to track the runner, who can get in behind, deliver a low cross which Chico touches into his own net.
Swansea have three defenders sheilding the 6-yard area with no one in that danger-zone in yellow. However, there’s no call for Chico to leave the cross and he touches it in to gift Spurs the chance to double their advantage.
Yet again, Spurs create a move that’s identical to the goal they’re about to score moments later and the Swans just never learn from their mistakes.
The home side have committed too many players forward, and Spurs can easily counter, get 2 players in on goal as five players race back in an attempt to recover.
Dembele put a shot just wide in their first effort, but fortunately for Spurs, it was Adebayor who had the ball for the second move moments later.
In the screenshot below, Rangel moves forward in an attempt to win the ball, he fails as Spurs move the ball forward with a runner in yards of space.
The screenshot below shows a different, wider angle of the above, and it’s incredible to see how much space is there for Spurs with only 1 defender back for the Swans as the likes of Williams, Rangel and Davies back-pedal.
As Adebayor receives the ball before scoring, Williams gives up his run back a little too early for my liking. In the below screenshot, his run as just about came to a sudden stop, while Adebayor is still looking to place his shot. His body language after the ball went in said it all really, his head went down and he looked knackered.
That was Spurs’ job for the day. The Swans did get into some good positions in the second half. Lamah helped us add more width to their play but all too often, attacking moves broke down either due to a poor decision or poor pass.
Above shows Pozuelo moving into a nice area of space in the middle, but his shot squared to Lamah is very poor, and Spurs have the opportunity to break once again.
Above shows Pozuelo looking to make a run inside into that same area of the pitch. However, Spurs have a better circle of players to help limit the threat and the move soon breaks down. It was a rare case where the Swans had their wingers close to the touchline with space down both flanks, but neither Routledge or Lamah could be brought into play in this example.
Passes into the final third were also poor, particularly those passes coming into the penalty area. See a comparison below between Swansea and Spurs over the full 90 minutes. Swansea managed 2 worthy passes all game inside box, compared to Spurs’ 4. Not a massive difference really, but it is if you count up the total passes made into the danger area.
There was something to cheer about though, and that was Bony’s stunning finish with 12 minutes to play. We never looked capable of a quick come back, but at least Bony is still banging the goals in.
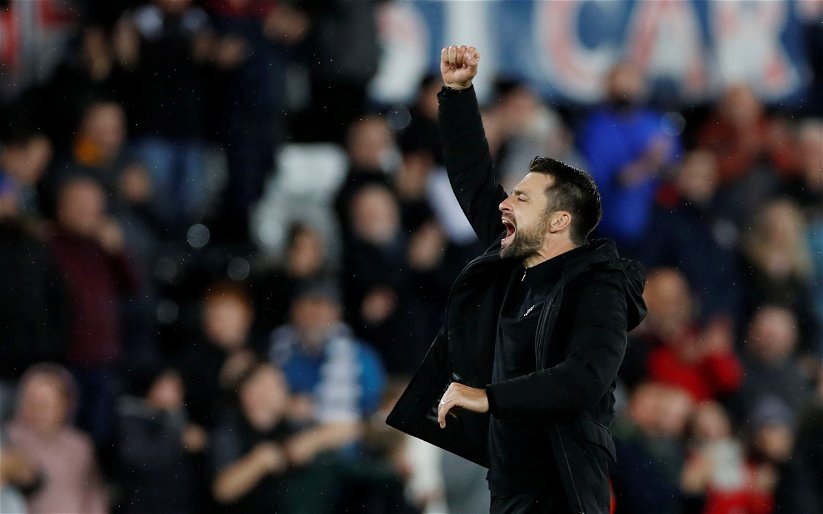
Oh, and for a bit of fun, seeing as so many commented on Laudrup’s lack of technical area usage and standing up, well he did stand up, we have proof!
Match Analysis courtesy of Come On You Swans.com![]()
Share this article
Related Articles